Exploring Parametric Creating Parametric Designs Step by Step
- David Copete
- Mar 19, 2024
- 2 min read

Welcome to DCO! I'm David Cete, and today I'm excited to guide you through a practical Grasshopper tutorial perfect for beginners or those looking for a hands-on exercise in parametric design.
We'll start by crafting a base form—a dome with intricate details and a customizable door. This tutorial aims to make parametric design accessible and enjoyable, so let's dive right in.
Creating the Base Form:
Setting the Foundation: We begin by establishing a point at the origin, which serves as the base for our design.
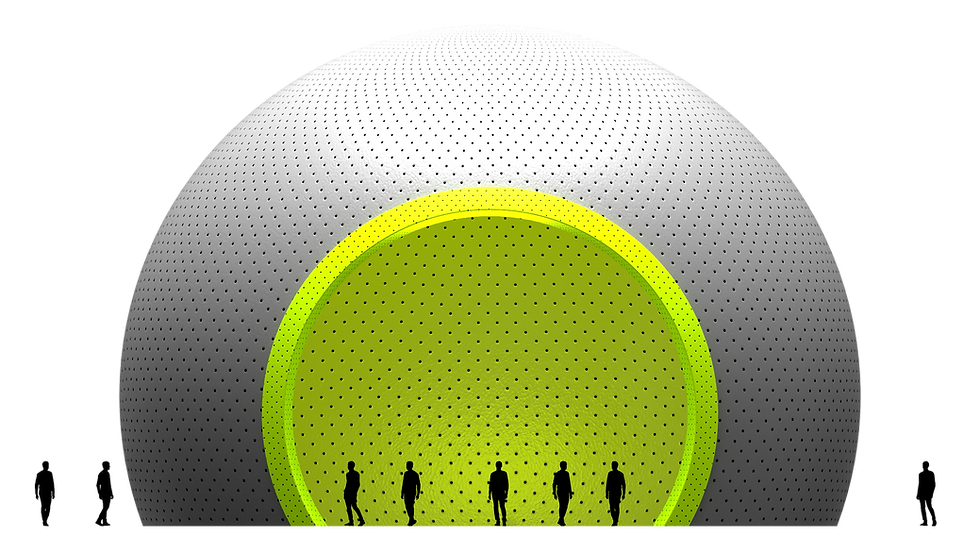
Forming the Dome: Using this point, we create a sphere with a chosen radius, shaping the foundation of our structure.
Hollowing the Dome: Next, we split the sphere to create a hollow dome. This involves creating a circle around the sphere and splitting the surface accordingly.
Customizing Parameters: Through sliders and inputs, we can adjust parameters like radius and split location, offering flexibility in design exploration.
Adding Details:
Designing the Door: We determine the door's location by extracting a point along a reference curve. This point guides the creation of the door as a sphere, which can be customized in size and position.
Fine-Tuning: We refine the door's placement by adjusting its elevation, allowing for precise control over its position within the structure.
Expanding Possibilities: For more complex designs, we explore multiple door placements, demonstrating the versatility of parametric modeling.
Introducing Trim Details:
Crafting Trim Elements: We extend our design by adding trim around the door. This involves offsetting spheres to create the outer and inner trim layers.
Refining Trim Depth: Sliders control the depth of the trim, offering variations in design aesthetics and functionality.
Visualizing the Result: Through color coding and visual previews, we observe how trim elements complement the overall structure.
Wrap-Up and Next Steps:
Reviewing the Process: We recap the tutorial, highlighting key steps in creating a parametric design from scratch.
Encouraging Exploration: This tutorial serves as a starting point for further experimentation and learning in Grasshopper.
Supporting Your Journey: If you're eager to delve deeper into parametric design, consider becoming a member for access to exclusive benefits and resources.
In conclusion, this practical Grasshopper tutorial offers a hands-on approach to parametric design, empowering beginners and enthusiasts alike to unleash their creativity. Stay tuned for more engaging tutorials, and don't hesitate to reach out with any questions or feedback. Happy designing!


Comments